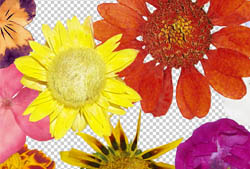
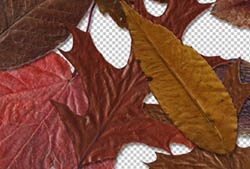
Floral Photoshop Patterns

Floral Patterns: 23
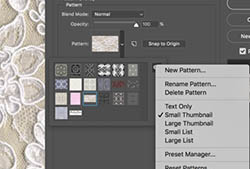
Compatibile with:
Photoshop CS to current version
Photoshop Elements 3 to current version
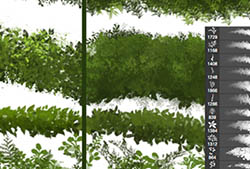
Description: Various floral patterns. Some are just flowers, others have swirls, others leaves and stems (foliage), etc.
High Resolution!