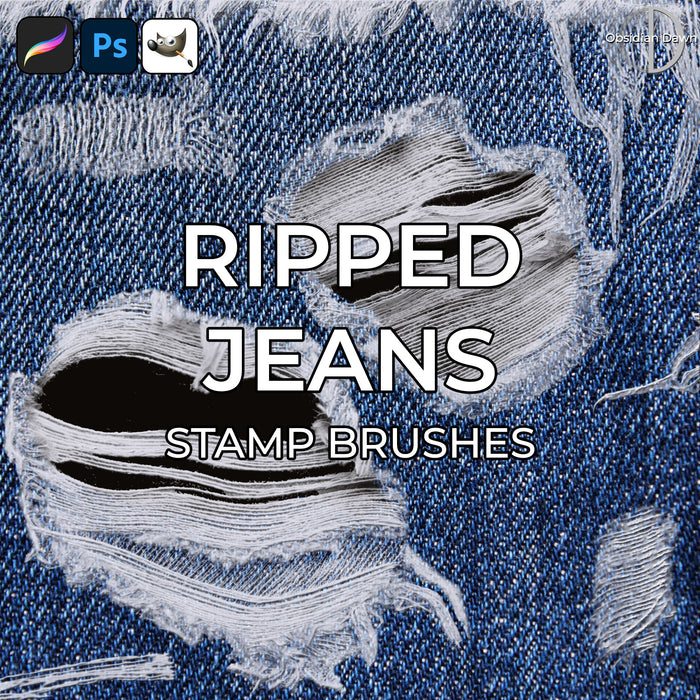
Ripped Jeans Brushes - Photoshop, Procreate, GIMP
Original price
$5.00
-
Original price
$5.00
Original price
$5.00
$5.00
-
$5.00
Current price
$5.00
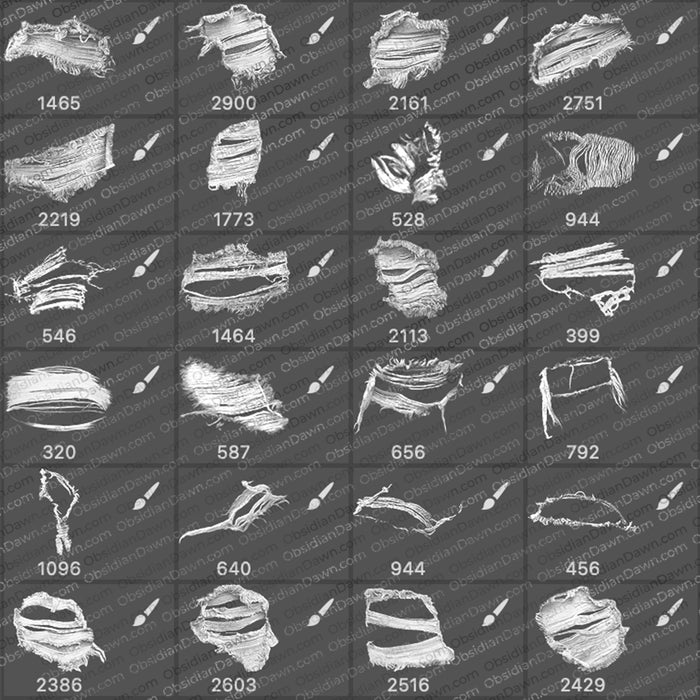
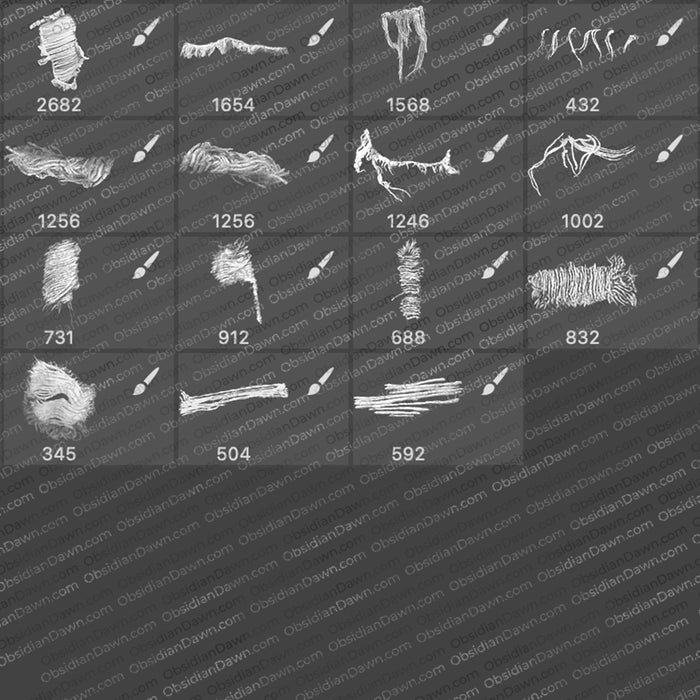
39 Stamp Brushes
Add authentic distressing to your denim with this collection of ripped jeans brushes. This set includes 25 ripped and fringy holes, 7 wispy fringe pieces, and 7 rips, allowing you to effortlessly incorporate realistic wear and tear into your fashion photography or artwork. Check out the video to see them in action!
Download includes:
ABR file compatible with Photoshop, Procreate, GIMP, Clip Studio Paint & more