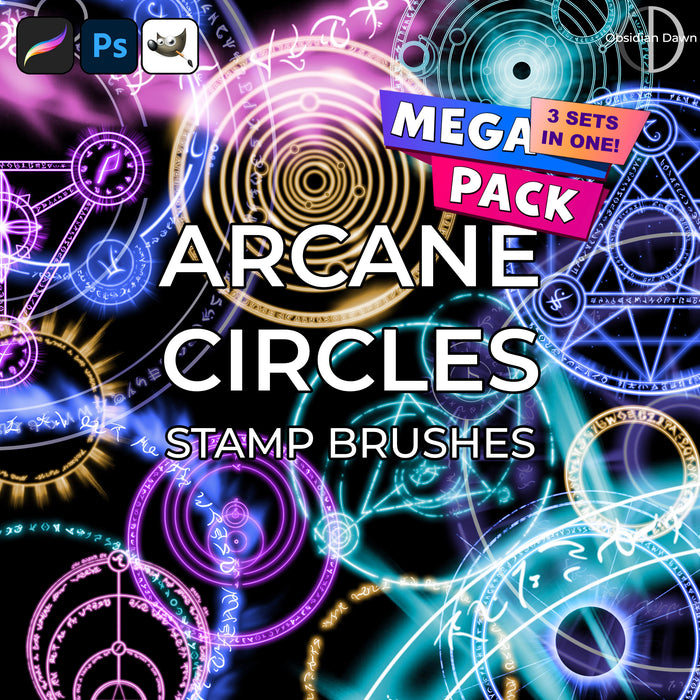
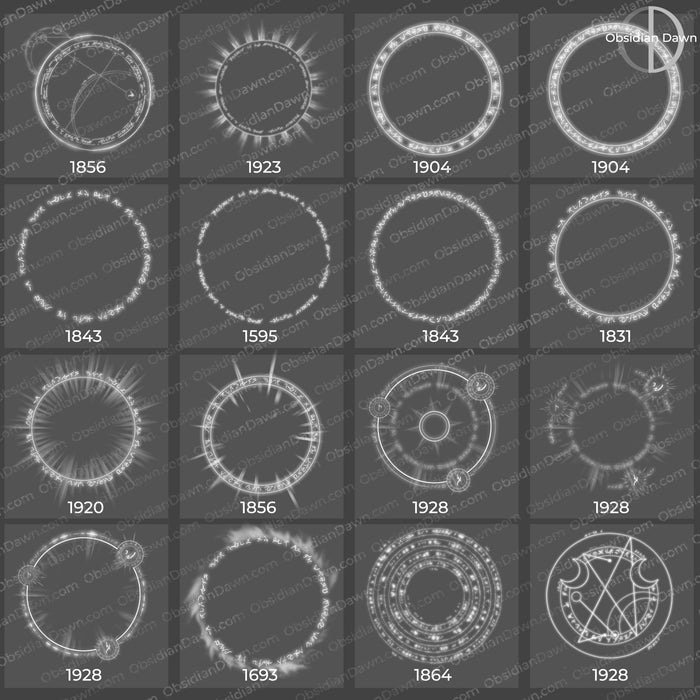
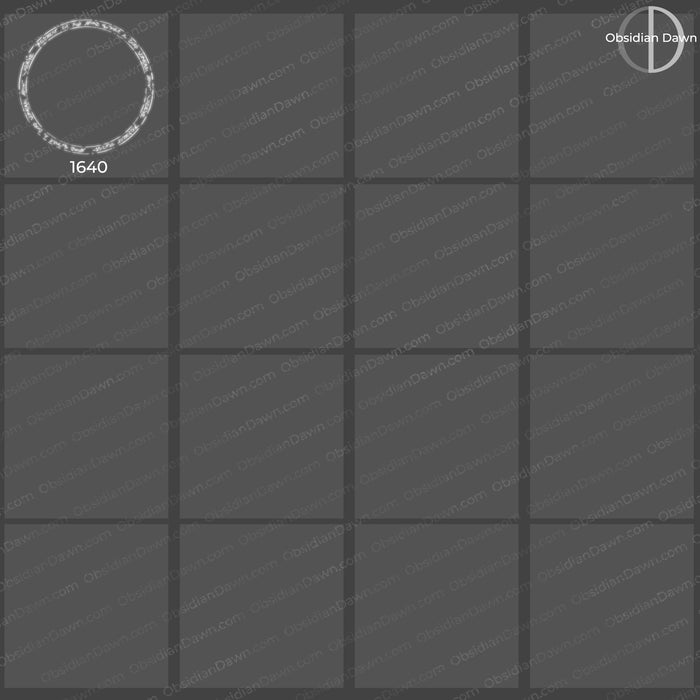
Arcane Circles Brushes Mega Pack – Photoshop, Procreate, GIMP
Original price
$12.00
-
Original price
$12.00
Original price
$12.00
$12.00
-
$12.00
Current price
$12.00
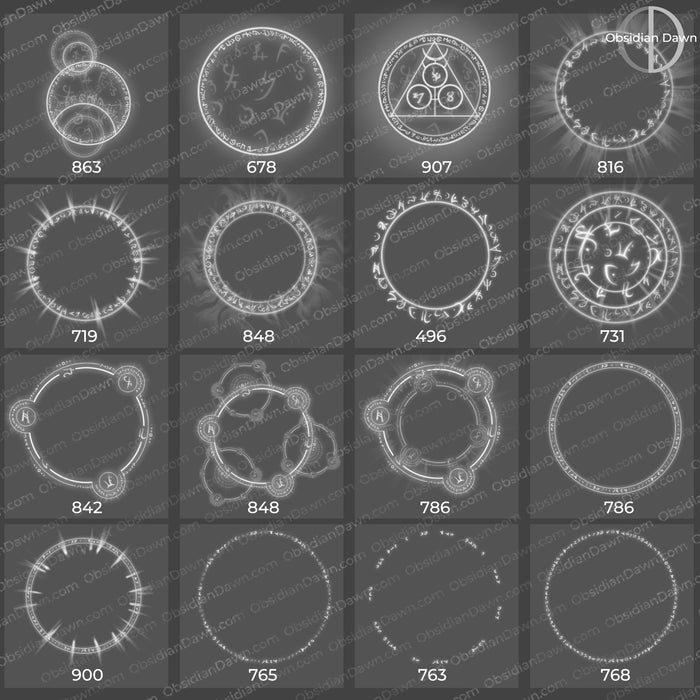
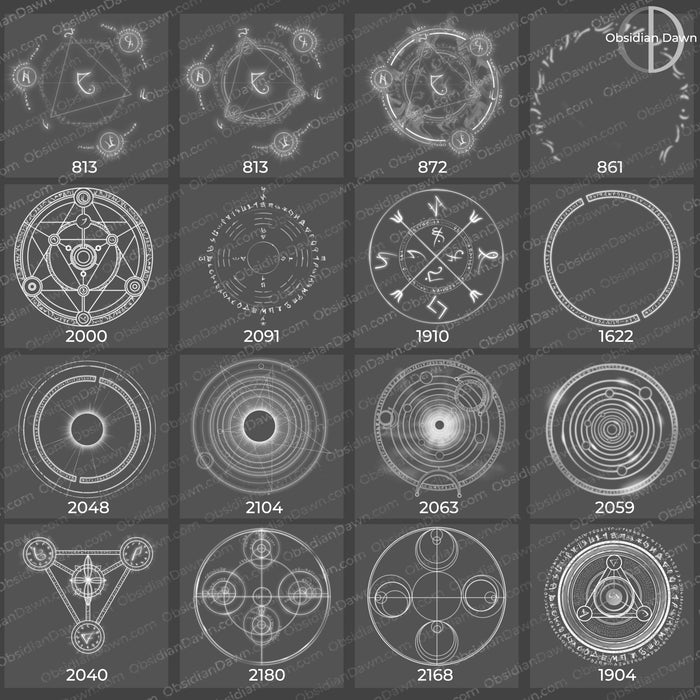
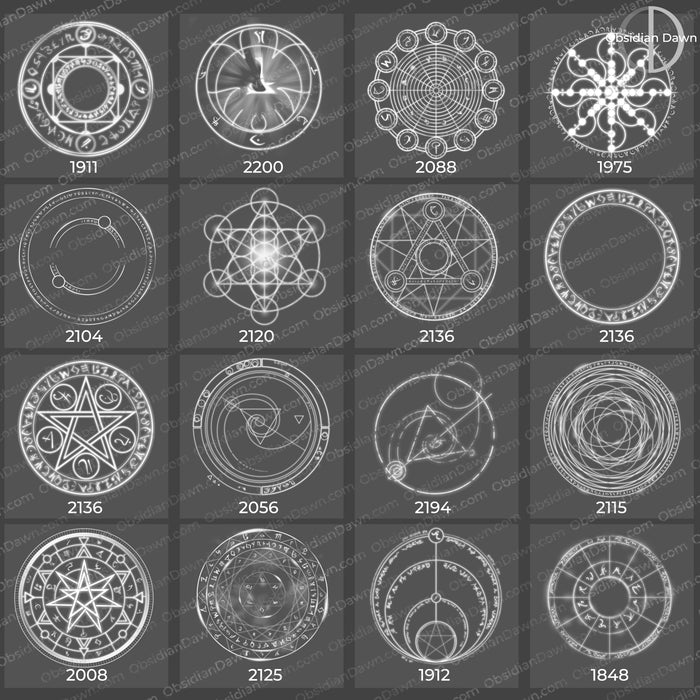
67 Stamp Brushes
Unlock the power of magic and the arcane with this collection of mystical circles, sigils, and seals—designed from scratch with no ties to real-world runes or traditions. From intricate alchemical glyphs to bold ritual emblems, each design hums with otherworldly energy, perfect for your digital artwork, mystical book covers, or enchanting game assets. These circles channel a sense of the arcane into every creation!
Download includes:
ABR file compatible with Photoshop, Procreate, GIMP, Clip Studio Paint & more!