A set of Photoshop & GIMP brushes composed of various swirls, ornamental designs, and flourishes. These are a bit more design oriented than our first swirls set, which was just swirls. These have some flowers, dots, circles, and various other ornamentations added to some.

Be sure to check out our Swirls & Flourishes Photoshop & GIMP Brushes set!
A big thank you to Diane Burton, who designed one of these based off a few of the shapes from my first swirls set – her design was the inspiration for this new set!
Programs: Photoshop 7+, Photoshop Elements 2+, Gimp 2.2.6+
Brushes: 23
Size: 1.05MB
Download the brushes
Download the image pack
Please read my terms of use before downloading!


18 Responses to “
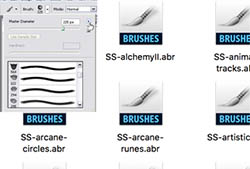
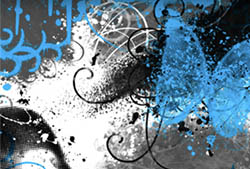
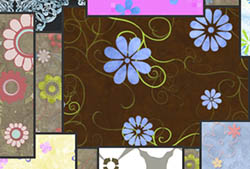
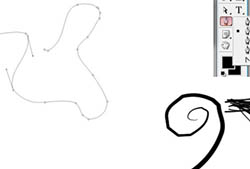
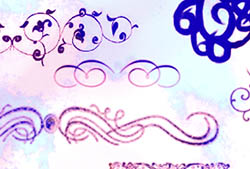
Swirls & Flourishes II Photoshop & GIMP Brushes”
wow i love it…keed on uploading new brush
nice swirl. thanks. could be useful
esse brushe é lindo, mais eu nãão consigo pegar ele para salvar no meu photoshop! pq ?
Thanks …………………………………………………..
I just LOVE your brushes, thank you so much for sharing them.
Thanks so much!
Lovely brushes . Thanks for making them available!
Great Brushes, thanks again for your generosity ….. !
[...] set combines the ideas of two of our most popular sets here at Obsidian Dawn: Glitter and Swirls & Flourishes II. Hope that you [...]
these are great!!
Hey there all great brushes on the website, btw you forgot licence in this pack :)
[...] images themselves, download website here: [link] Terms [...]
Thank you so much! These are fab :)
Thanks so much, merci !
hi steph…, i just want to ask if you can teach me how to turn the photo into black and white but not the whole photo…for example there’s two person in that photo and i want to turn the other one into black and white while the other portion keeps its normal color…i’m sure you can help me with this…..
Thank you so much in advance and Godbless!
@georgette: I can, yep. Here’s to hoping I can explain it well enough without photos accompanying it!
Here’s the easiest way I can think of to do it. Make a new layer, on top of the “Background” layer with the photo on it. Once you’ve made that layer, make sure it’s selected by left clicking it in the layers palette.
Now, up near the top of the layers window, you should see a place where it says “Normal” and then has an arrow next to it showing that you can change what’s currently selected there via a dropdown menu. Go ahead and do just that – click it. Select “Color”. What you’re doing here is changing the way that this layer interacts with the layers beneath it. Setting it to “Color” makes it so that whatever you put on this new layer will only COLOR the stuff on the layers beneath it, and that’s it.
So, what we’re going to do is select white (or black, or any shade of gray) and paint over the portion of the photo that you want black & white. Doing that will completely desaturate that portion of the photo (since black/white/gray are all completely “colorless” and desaturated), allowing you to keep the colored portion showing through where you want it to and to have the rest (wherever you paint) become black & white.
Ta-da!
Hope that helps.
hi steph! thank you so much for helping me….it worked!! till next time… Godbless you always……thanks!
Thank you, thank you for sharing those really great brushes! I love them!
Leave a Reply
Other Links
Member Center
Getting Started
Affiliates
Helpful Links
Follow Us
By Program
Latest Downloads
Popular Now
Web Design and All Content
© 2004-2009 Obsidian Dawn